How to Build the Perfect Breastmilk Stash: A Guide to Using Freezer-Safe Breast Milk Storage Bags
Release time: 2026-02-25
Pouring your hard-pumped breast milk down the drain because a flimsy storage bag split open in the freezer is a heartbreak no mother wants to experience. Every single drop of that “liquid gold” represents your time, your energy, and your deep dedication to your baby.
Whether you are preparing for your return to the office, planning a much-needed weekend away, or simply building a reliable backup supply so your partner can handle the 3 AM night shift, your storage method is critical. Pumping the milk is only half the battle; protecting it is the rest.
That is exactly why you need a foolproof system built around high-quality freezer-safe breast milk storage bags. Today, we are skipping the guesswork and walking through the exact, stress-free steps to build and manage your milk stash without wasting a single ounce.
Step 1: Ditch the Kitchen Baggies (Start with the Right Gear)
“Can’t I just use standard zip-top bags from my pantry?”
The short answer is absolutely not. Standard food storage bags simply aren’t engineered to protect the delicate antibodies, fat profiles, and nutrients found in human milk. Furthermore, they are not pre-sterilized, which introduces an unnecessary bacteria risk for your infant’s developing immune system.
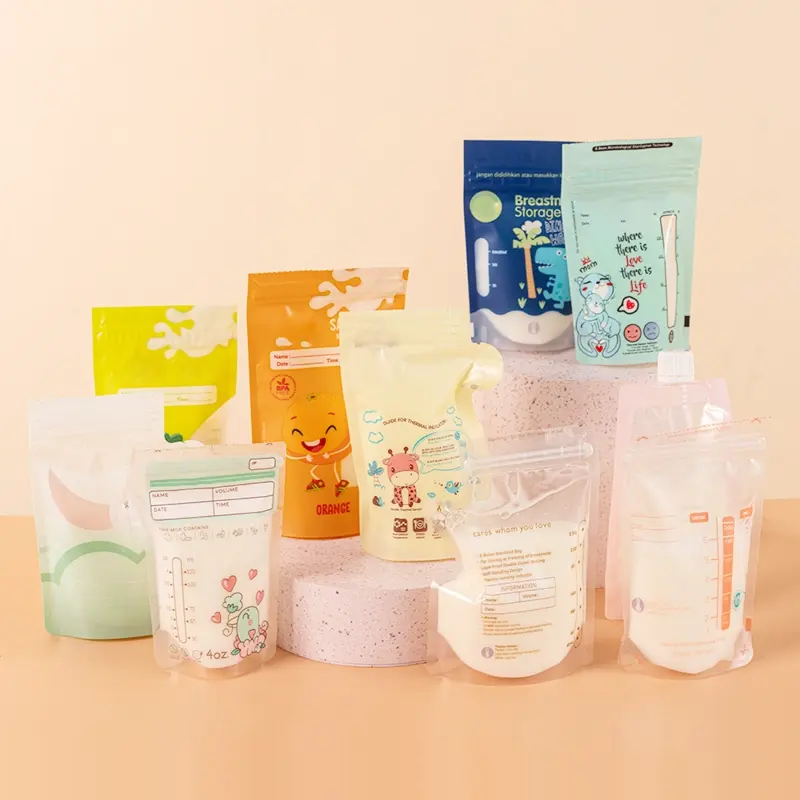
You need dedicated freezer-safe breast milk storage bags. When comparing brands, always check for these non-negotiable features:
- BPA and BPS-Free: Essential for chemical safety.
- Pre-sterilized Interiors: Allowing you to pump, pour, and freeze immediately.
- Double Zipper Seals: Your ultimate line of defense against the dreaded freezer leak.
- Thick, Durable Material: To withstand sub-zero temperatures without turning brittle and tearing.
Step 2: The Golden Rules of Pumping and Prepping
Once you have the right bags, filling them correctly is the next hurdle. Avoid these common rookie mistakes:
Cool Before You Pool: If you are combining milk from multiple pumping sessions throughout the day, ensure both batches are chilled to the exact same temperature before mixing. Never pour warm, freshly pumped milk into a container of already chilled milk, as this can raise the overall temperature and encourage bacterial growth.
Portion for the Feeding, Not the Bag: It is incredibly tempting to fill a large bag to the absolute brim to save space. Resist the urge! First, breast milk expands as it freezes; an overfilled bag will pop open at the seams. Second, once thawed, milk must be consumed within 24 hours. Freeze in practical 2- to 4-ounce portions. It is always easier to thaw an extra small bag than to throw away ounces your baby couldn’t finish.
Label Before You Pour: Sleep deprivation will erase your memory faster than you think. Always use a permanent marker to record the date, the exact volume, and your baby’s name on the designated label area before adding the liquid. Trying to write legibly on a cold, squishy, full bag is a recipe for a mess.
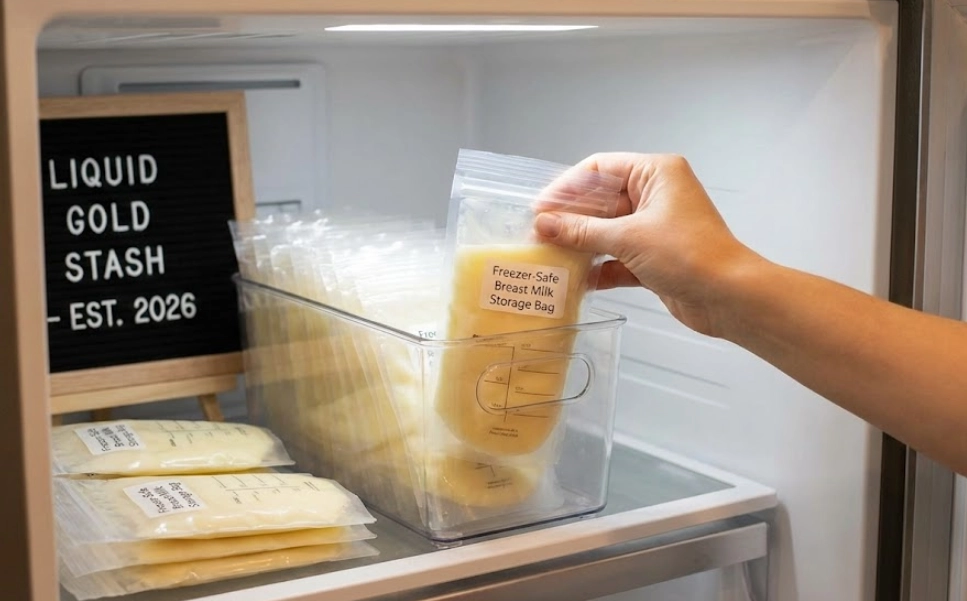
Step 3: The “Lay Flat” Freezing Hack
If you take only one piece of advice from this guide, make it this one: stop standing your bags upright in the freezer.
After pouring your milk into the freezer-safe breast milk storage bags, gently squeeze out as much excess air as possible from the top. This crucial step prevents freezer burn. Then, seal the double zipper tightly, and lay the bag perfectly flat on a flat freezer shelf or inside a shallow plastic container.
Once frozen solid, these bags turn into neat, uniform little “bricks.” You can then stack them vertically in an organizer bin, much like files in a filing cabinet. This method saves a massive amount of freezer real estate and ensures the milk thaws significantly faster and more evenly later.
Step 4: Thawing Safely (Protect the Nutrients!)
When it’s time to dip into your stash, strictly practice the “First In, First Out” (FIFO) method. Always rotate your supply and grab the oldest-dated milk first.
For safe thawing, stick to these two methods:
- Overnight in the Fridge: The easiest, most hands-off method. Place the frozen bag into a clean bowl (just to catch any condensation or rare leaks) and let it thaw in the refrigerator overnight.
- Warm Water Bath: If you need milk quickly, hold the sealed bag under running warm water or place it in a bowl of warm (never hot) water.
What NOT to do: Never microwave breast milk or drop a storage bag into boiling water. Extreme, uneven heat creates dangerous hot spots that can easily burn your baby’s mouth, and it actively destroys the precious immunological properties you worked so hard to preserve.
Secure Your Stash, Secure Your Peace of Mind
Building a robust milk stash doesn’t happen in a single weekend. It is a steady process of adding an ounce here and two ounces there. But when you rely on durable freezer-safe breast milk storage bags and a smart organizational system, you are buying yourself incredible peace of mind.
You’ve already done the hardest work by producing the milk. Let the right storage bags do the heavy lifting of keeping it safe, fresh, and ready for your little one.